CSUB Example: Creating the Model Grid |
CSUB Example: Creating the Model Grid |
Start ModelMuse and select "Create a new MODFLOW model." Then click Next.
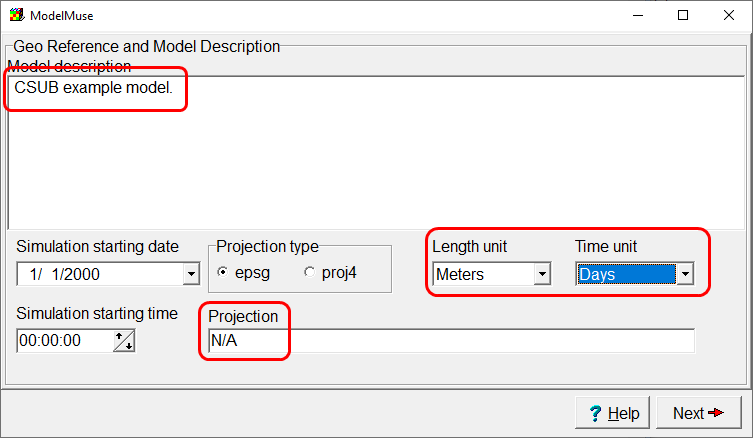
Then set the length units to meters and the time units to days. You can also set the projection to N/A (not applicable) and provide a description of the model. Then click Next.

Next, select MODFLOW 6 as the MODFLOW version and set the number of layers to 4. then set the elevations of the model layers and click the "No grid" button.

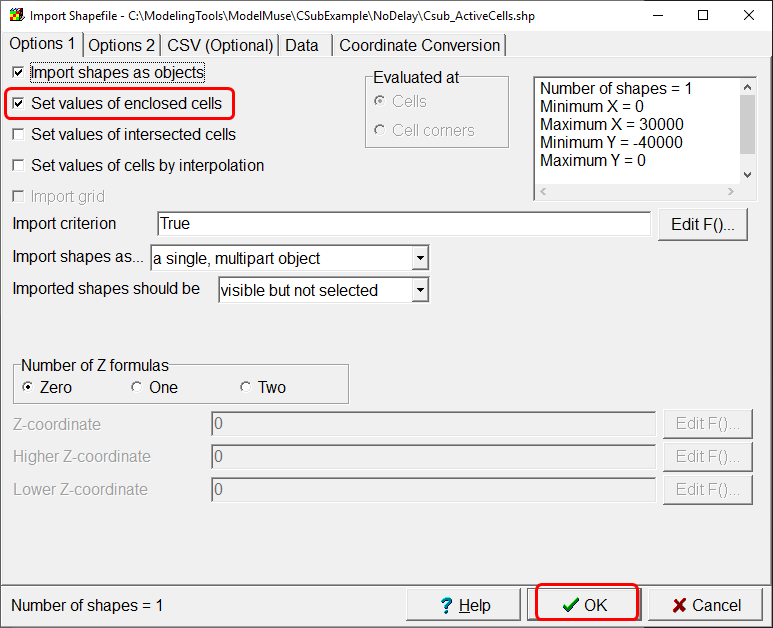
We will use a Shapefile to specify the outline of the grid and then create the grid. Select "File|Import|Shapefile" and select Csub_ActiveCells.shp. It should be in the "C:\Users\Public\Documents\ModelMuse Examples\data" directory. Choose to have the shape set the values of enclosed cells and click the OK button.

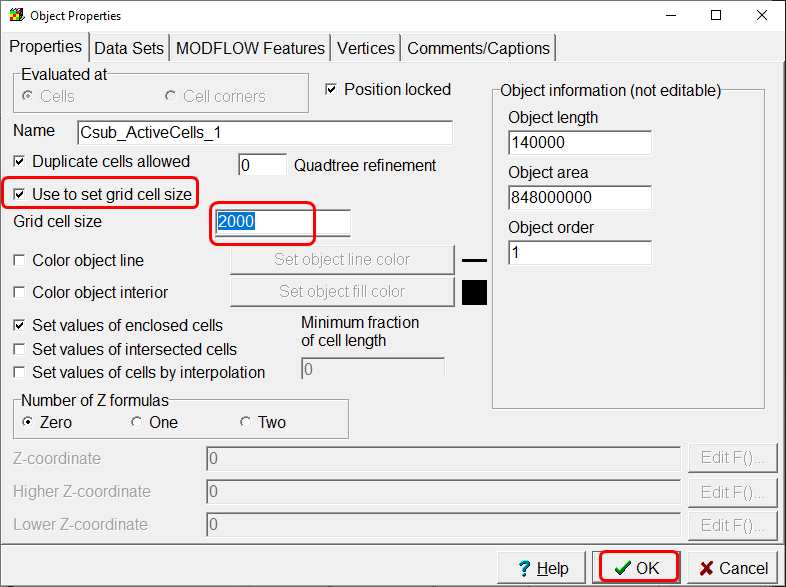
The object you just imported might or might not be visible in the main ModelMuse window but it is easy to edit it to set the cell size for the grid even if it isn't visible. Select "Object|Show or Hide Objects" or click the "Show or hide objects" button  . Double-click the name of the object to open it in the Object Properties dialog box. In the Object Properties dialog box, check the "Use to set grid cell size" button and set the grid cell size to 2000. Then click OK.

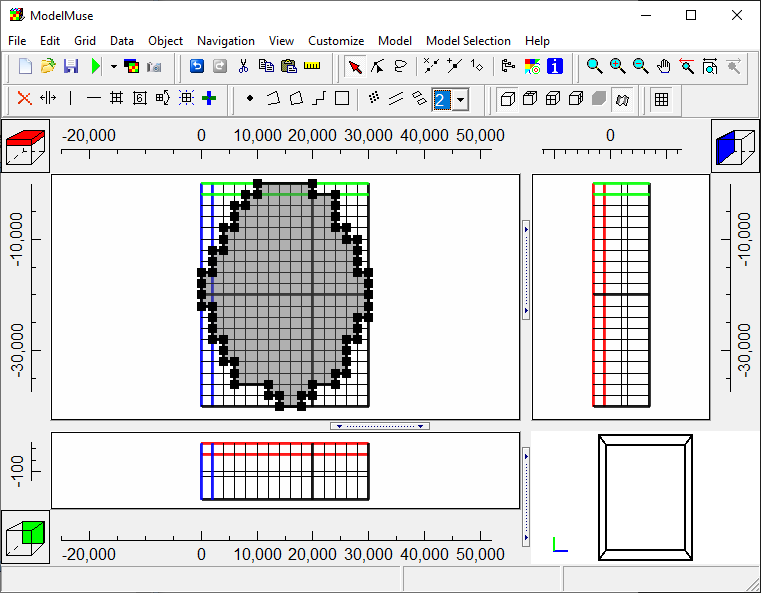
Now select "Grid|Generate grid" or click the "generate grid" button  . Click the OK button in the Generate Grid dialog box to create the grid. All the cells inside the object that defines the grid will be active. Those outside it will be inactive.
