ZoneID Object |
ZoneID Object |
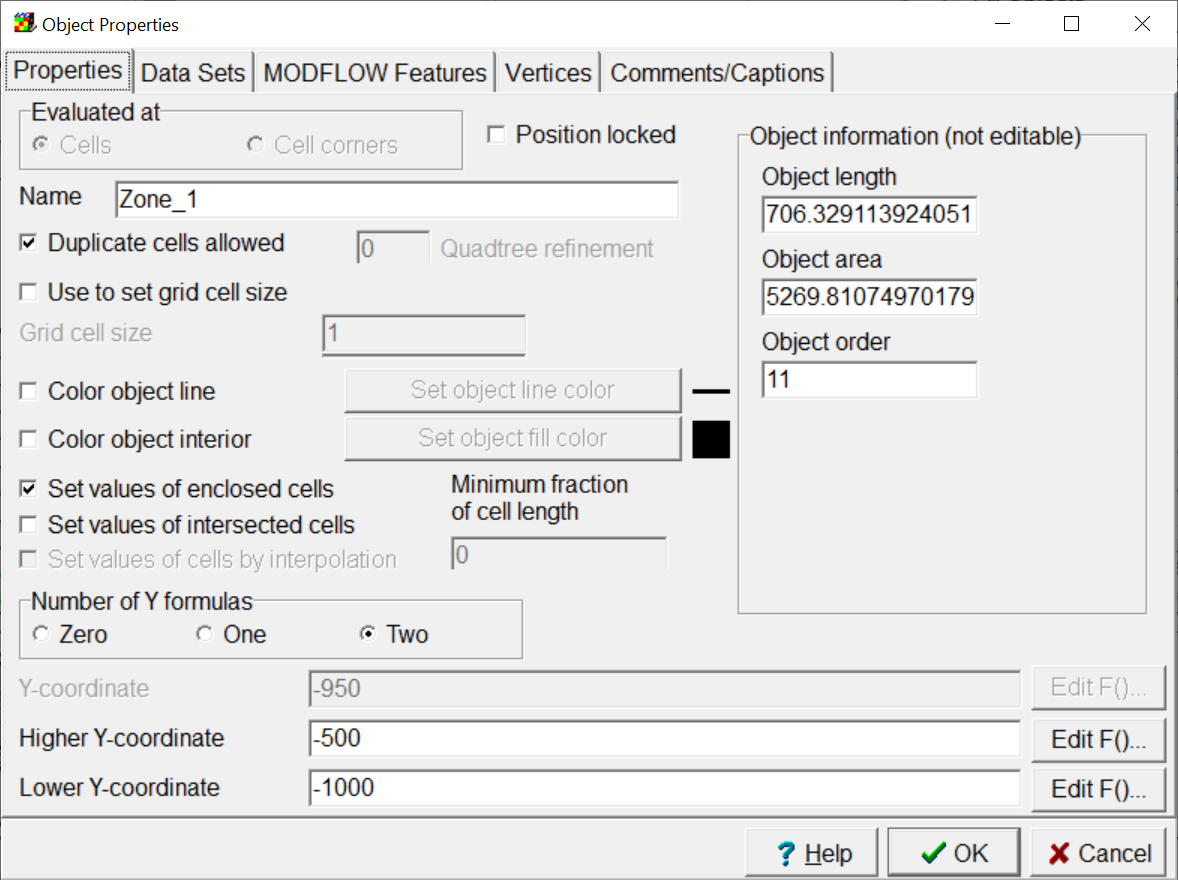
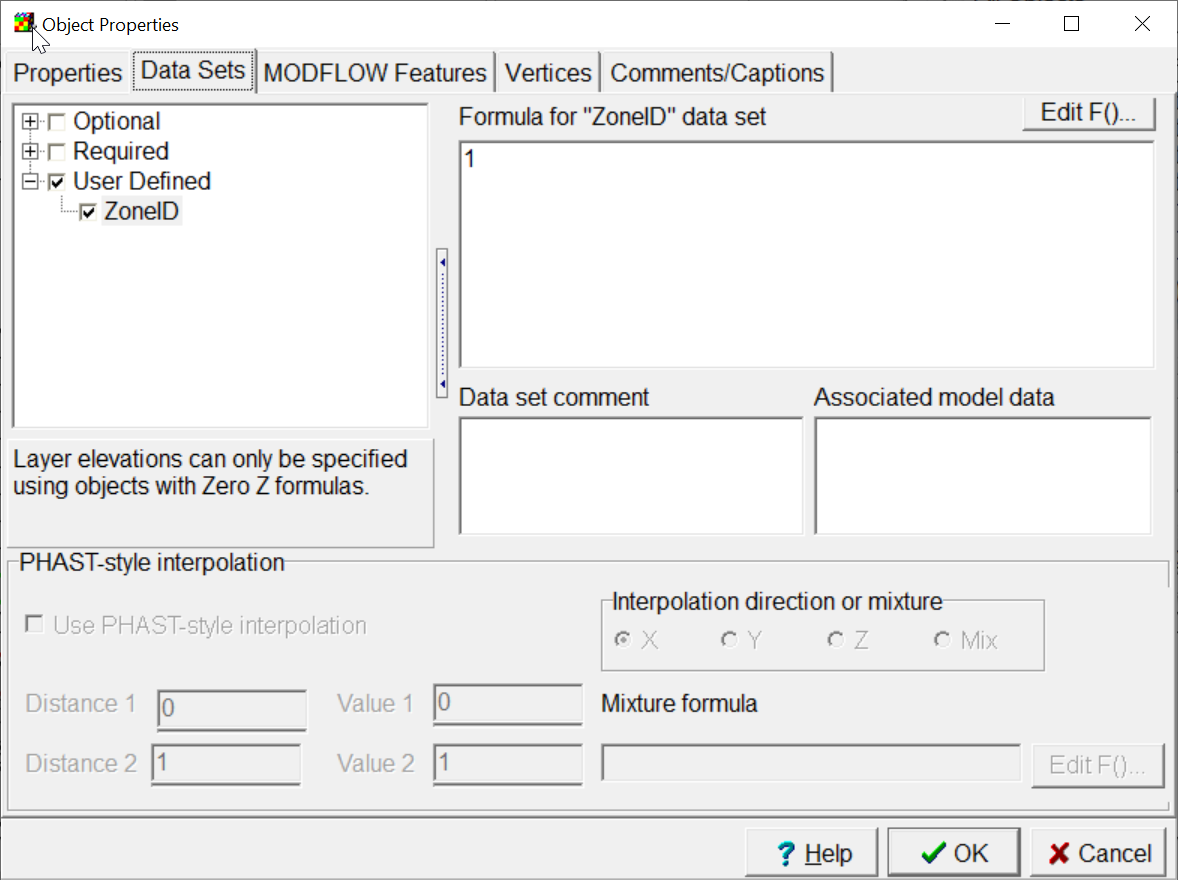
To see how ZoneID is specified, first select Data|Edit Data Sets... and note that the default formula for ZoneID is "2." Click Close to close the dialog box. To see how the "Zone_1" object sets the value for the ZoneID data set, select Object|Select Objects  and then double click on the rectangle object on the front view of the model. On the Properties tab of the Object Properties dialog box, note that the "Set values of enclosed cells" checkbox is checked (fig. 76). On the Data Sets tab, note that the check box next to "ZoneID" (under "User Defined") is checked and its formula for this object is set to "1" (fig. 77). Back on the Properties tab, note that the formulas for the higher and lower Y-coordinate of the object are set to the front of the model and half-way to the back of the model. Thus, this object sets a value of 1 in ZoneID for all the cells inside the object for the front half of the model. Click Cancel to close the dialog box.
Because the elevations of the layers vary spatially, cells enclosed by the object are not the same in all the layers. Try moving the selected layer down (by clicking beneath the red square in the upper left) to see how the cells that are enclosed by the object vary from layer to layer. It can also be instructive to change the selected row by clicking behind the green square on the lower left Selection Cube to see why particular cells are inside the object.
 |
Figure 76. Properties tab of the Object Properties dialog box. |
 |
Figure 77. Data Sets tab of the Object Properties dialog box. |