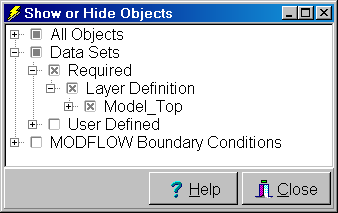
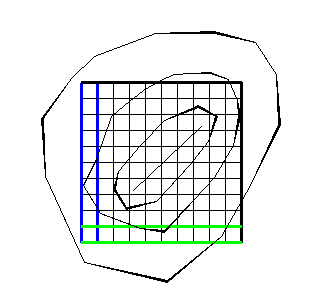
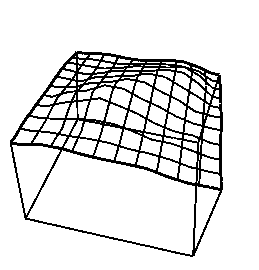
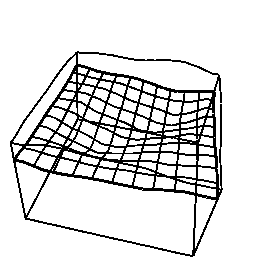
Select Object|Show or Hide Objects... The Show or Hide Objects dialog box (fig. 69) will be displayed. Uncheck the check box next to All Objects to hide all the objects. Then click on the + symbol next to Data Sets to display groups of data sets that have objects that are used to set the values of those data sets. Similarly click on the + symbol next to Required and Layer Definition. Then check the check box next to "Model_Top" to display all the objects that are used to set the values of the "Model_Top" data set (fig. 70). On the top view of the model, there are now several objects that determine the elevation of the top of the model. The elevation is determined by interpolation among these objects. To get a better view of the top of the grid in the 3-D view (fig. 71A), select View|Show Top Grid. Then on the 3-Dview of the model, click and drag to rotate the view of the model to get a better view of the grid. To see the bottom of the upper aquifer, locate the cube with the red square above and to the left of the top view of the model. Click on the cube below the red square to move the selected layer down by one (fig. 71B). The 3-D view will be updated to show the bottom of the upper aquifer.
 |
 |
Figure 69. Show or Hide Objects dialog box in ExampleModel.gpt. |
Figure 70. Objects used to define the top elevation in ExampleModel.gpt. |
 |
 |
A |
B |
Figure 71. Thee-dimensional view of the grid (A) at the top of ExampleModel.gpt and (B) at the bottom of the first layer.