MODFLOW 6 Example: Generate Structured Grid |
MODFLOW 6 Example: Generate Structured Grid |
In this step we will create the grid used in the model.
We want to create a grid with that is approximately 40,000 m by 40,000 m with a grid size of 1000 by 1000 m. To do that we will create an object covering the approximate area where the grid will be and use it to specify the grid.
1.Select the Zoom Out button  and click on the top view of the model until the size of the displayed area is large enough for our grid.
2.Click the "Create polygon object" button  .
.
3.Click on the top view of the model to start drawing the polygon. Click again to create another vertex of the polygon. Repeat until the polygon is finished. Then double click to complete the object and show the Object Properties dialog box.
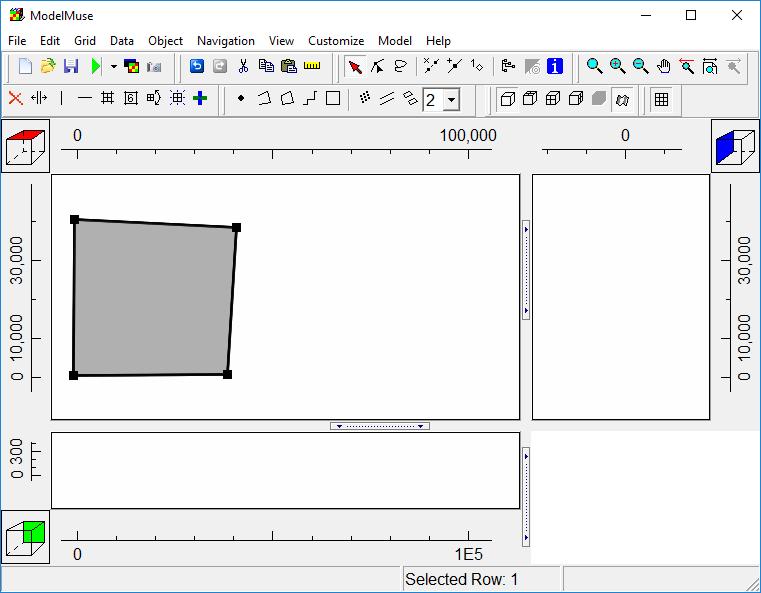
Object used to define grid.
4.In Object Properties dialog box, check the Use to set grid cell size check box and set the grid cell size to 1000. If desired, you can also specify a name for the object. Then click the OK button.
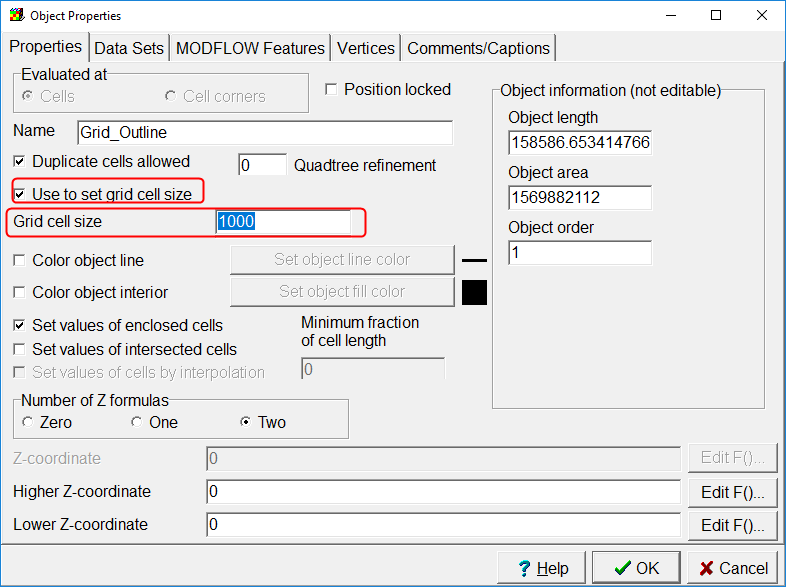
Specify desired grid size in the Object Properties dialog box.
5.Next click the Generate Grid button  . The Generate Grid dialog box will appear. Make sure the "Calculate grid angle automatically" checkbox is unchecked and that the grid angle is set to 0. The reason for that is because even though MODFLOW 6 can handle rotated grids, MODPATH version 7 can only work with unrotated grids.
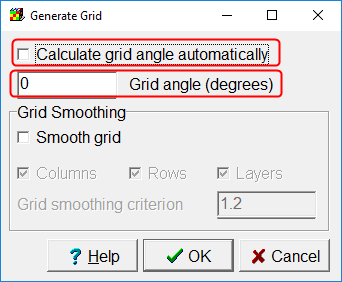
Generate Grid dialog box with "Calculate grid angle automatically" unchecked and the grid angle set to zero.
6.Click the OK button to close the dialog box and generate the grid.
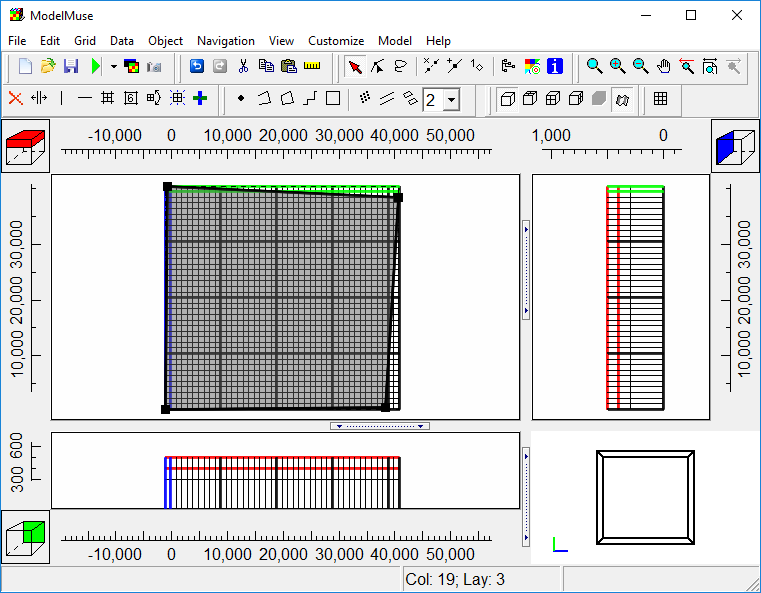
The grid for MODFLOW 6.
7.Right-click on the top view of the model and from the popup menu, select "Hide Selected Objects."
8.Then click on the Show or Hide 2D gridlines button  and select Show Active
  . This will hide all the inactive cells in the model. Any cell outside the object used to define the outline of the grid will automatically be an inactive cell. (You can also make cells inactive by setting the "Active" data set to "False."
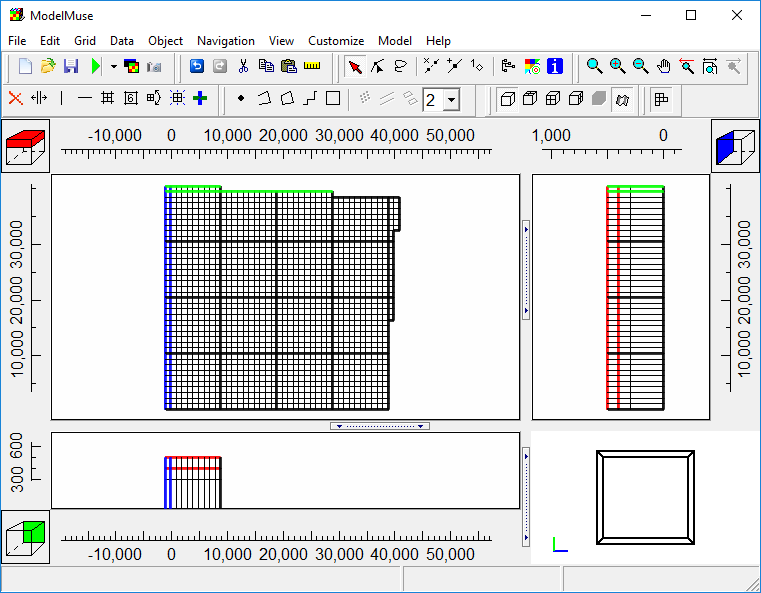
Only active cells in the grid are displayed.
9.Now would be a good time to save the model so select "File|Save" and save the model.