|
|
Internal USGS Access Only |
Assignment Set 4
Image maps
To Open GeoHTML
GeoHTML has been installed on your machine. You can access GeoHTML through its desktop icon or through Start --> Programs --> GeoHTML --> GeoHTML.
Create an imagemap
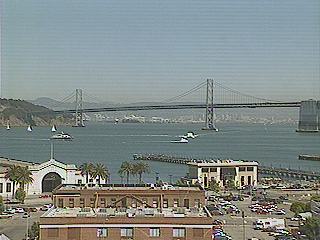
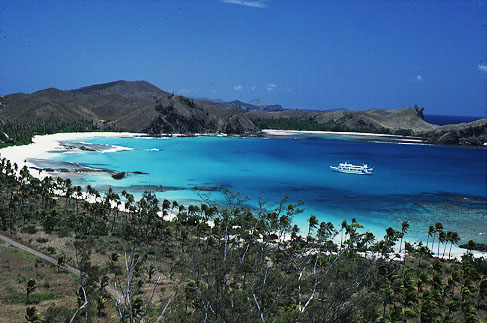
- Choose two or more of the following images (Click on the thumbnail for the full sized image)
- Copy the image file(s) into your X:\usgs.gov\user\~userid\public_html\images area
- Link one of the images to your web page.
Note: Before using GeoHTML, make sure that all your images have height and width tags. If they do not, GeoHTML will insert height and width tags of 0, causing your image to seemingly disappear.
You can get height and width attributes from either Netscape or Internet Explorer by right clicking on the image and selecting "Properties".
To use GeoHTML
GeoHTML Help page
- Open GeoHTML and use File--> Open or the Open Project icons to open your html file.
- Note there are two views available in the main window: Images
and HTML source As it says, don't hand edit the <map> or
the <img> html source in the source view. However, you can modify other parts of the HTML.
To open a new image, use File --> New Map or the "New Map" icon.
- Look in Document shows all images in the document which are not currently open in GeoHTML.
- Open an image lets you browse for any image and will both open the image and link it to your webpage.
Use these options to open the image that you did link to your web page and the one that you did not. Check the placement of the inserted graphic and move it to a better place on your webpage.
- To create a circle, rectangle, or polygon area use the icons across the
top (double click on the last point in a polygon).
- Select the appropriately shaped icon.
- For a circle or rectangle, click and drag your mouse to define the area. You can select the area later and move the area or individual points.
- For a polygon, click each point around the shape. Double click on the last point in the polygon to finish it. You can select the area later and move individual points, but you cannot create new points or move the entire area.
- Ctrl & Delete will delete a currently selected defined area.
- There are two secondary windows, Object List and Area Inspector, that will let you define attributes for your imagemap.
- Object List This window reflects all the areas defined
in your image
- Area Inspector This window describes attributes of the imagemap: Alt, class, coordinates, href, Id, title, etc.
Using the Object List window to select each defined region, specify the link location (href) and alt text in the Area Inspector window.
- When finished drawing shapes, click on File -> Save to update
the html document. Note: You must be in the Images view to save.
- In Xemacs, select File -> Revert Buffer to see the changes. Reload your page in the web browser to check how the image map works.
assignment 4
![[back]](../images/a_left.gif)
![[up]](../images/a_up.gif)
![[forward]](../images/a_right.gif)
|
"Mastering a Website" online course
Created and maintained by
Lorna Schmid and David Boldt.
Last modified: Fri Aug 22 19:48:55 Mountain Daylight Time 2003
|