|
RMA: Define Model Limits |
|
RMA: Define Model Limits |
The next step will be to create an object that will define the limits of the model.
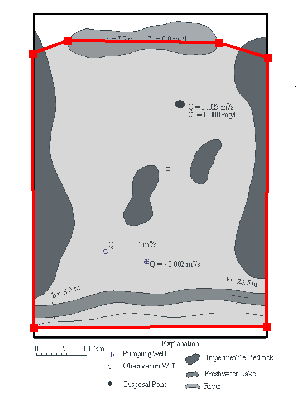
Click the Create polygon object button  and draw an object around the area to be included in the model as illustrated by the red object in the illustration below. To draw the object click on the top view of the model at the desired location of the first vertex of the object. Then click again for the next vertex. At the final vertex, double-click or press the Enter key on the keyboard. The model area should go through the lake at the north end of the model and be a little south of the river at the south end of the model (figure 100).

Figure 100. Domain outline for the Rocky Mountain Arsenal.
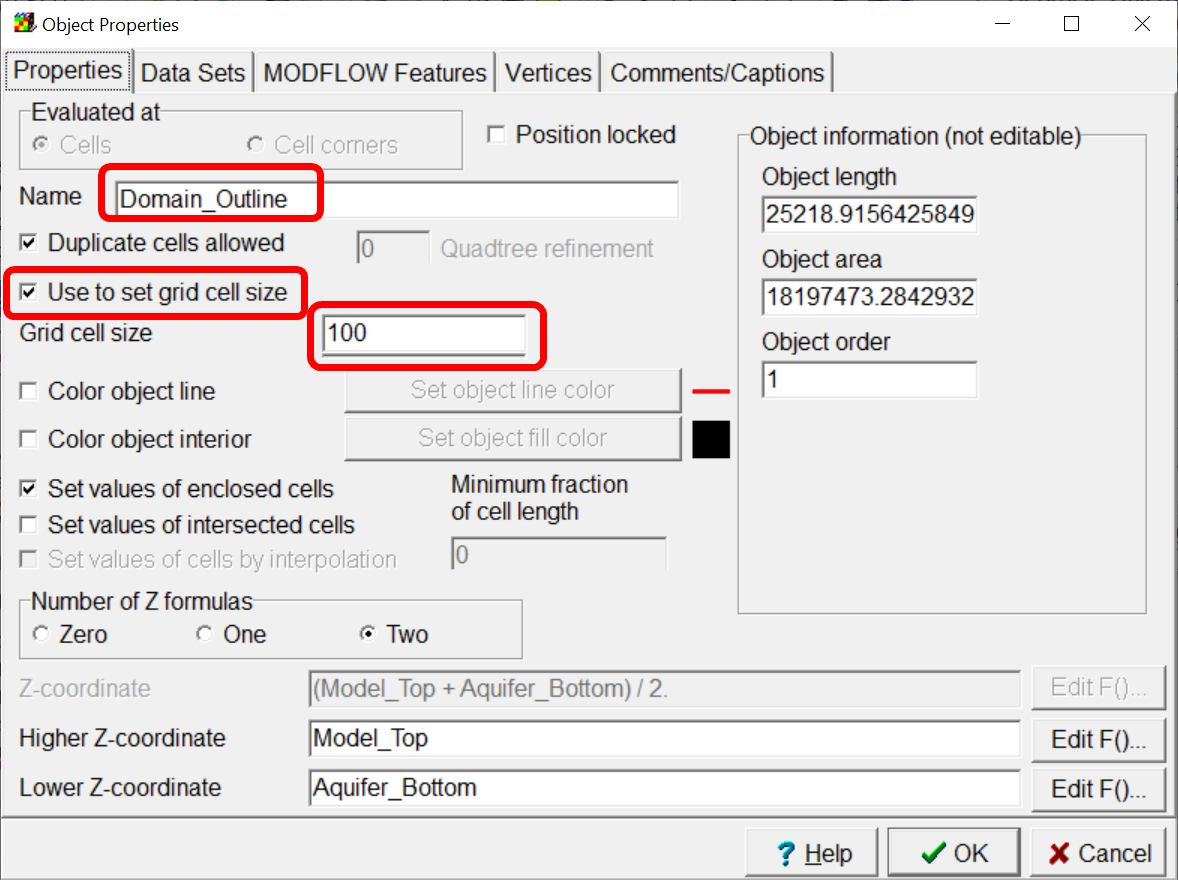
When the object is complete, the Object Properties dialog box will appear (fig. 101). In it name the object "Domain Outline" and check the Use to set grid cell size check box. Then set the Grid cell size to 100. If desired, the user can check the Color object line check box and choose a color for the line used to draw the object. Then click the OK button.

Figure 101. Object Properties dialog box.